Paint removal is a nightmare for many homeowners. It can be slow, messy, and difficult to remove paint from siding without damaging it. However, some tricks will make the job easier for you! In this blog post, we will show you how to use everyday household items to get paint off of any surface with ease!
Clean the area with soap and water
Take a soft brush and soap, and water to remove any dirt or other grime from the surface. This will help ensure that the paint is removed entirely, so it does not get stuck in cracks or crevices. Just be sure to dry off the area after rinsing!
When working with paint, always wear protection on your skin. We recommend nitrile gloves to keep the harsh chemicals off of your hands and nails!
After removing any dirt or grime with soap and water, you’ll want to get started removing that pesky paint!
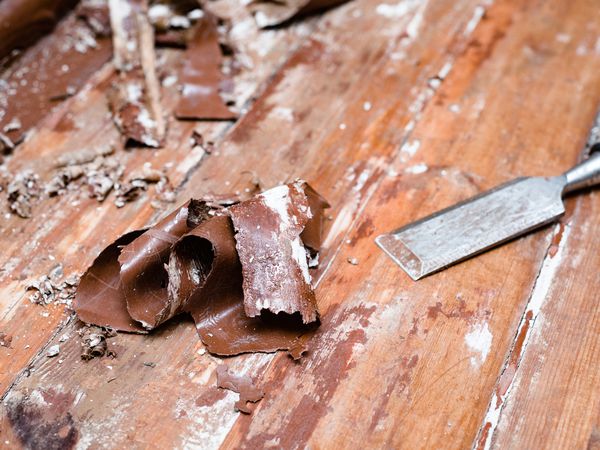
Scrape off any loose paint or debris
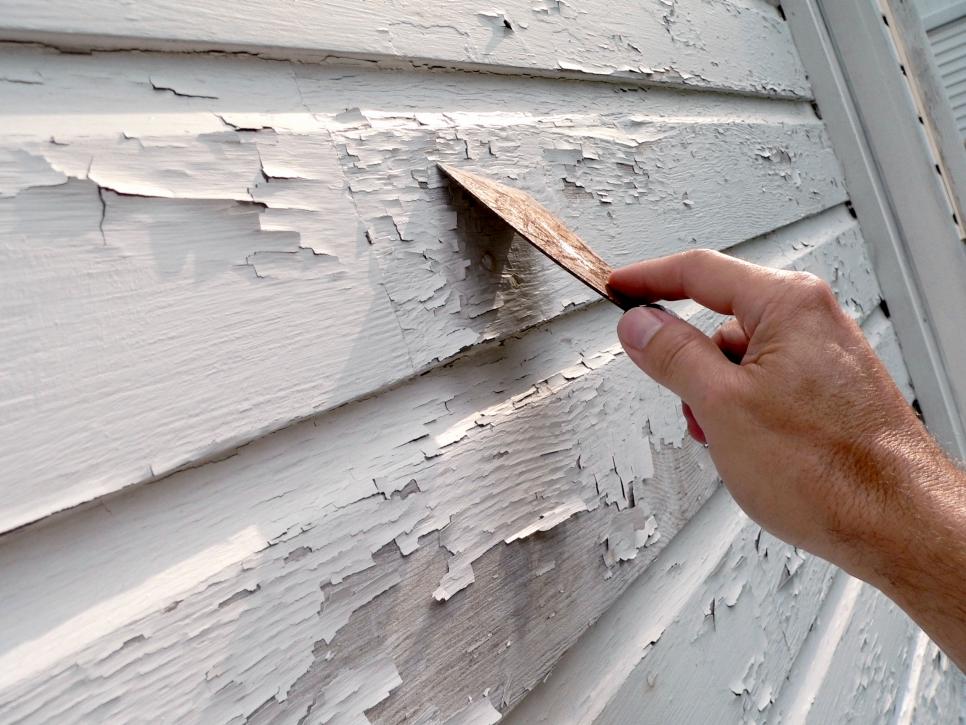
With a paint scraper, begin to remove any loose paint. Be careful not to gouge the siding if it is wood or vinyl! If you’re able, use a heat gun on the low setting to soften the remaining paint and make it easier for removal. This can also help prevent damage to your home when removing stubborn bits of paint! Just be sure. Be sure to get any small pieces of debris, especially when you are working with old houses!
Remove all loose materials by scraping them gently with the paint scraper tool.
Start on the top part of your siding, where less dirt and other grime may have built up over time. Then, move on to the bottom part of your siding, where it is exposed more often.
Start by scraping any loose paint or debris from a small section at a time. Be sure to take your time and work slow rather than going over the same area too many times.

Apply a chemical stripper to the surface
If you are working with a stubborn paint job, it may be necessary to use a chemical stripper. Apply the solution evenly over the surface and allow it to sit for about 15 minutes before scrubbing off any remaining residue with a brush or rinsing away if needed.
Be sure to protect any surrounding areas that you do not want to be affected by the chemicals! If necessary, use plastic sheeting or heavy-duty tape to section off other areas of your home during this process. Remove all protection after scraping if needed, and then rinse thoroughly.
We recommend using heavy-duty gloves when working with chemical strippers and ensuring the surrounding areas of your home are protected while you work! When finished, rinse any remaining chemicals off of the surface and allow them to dry before continuing.
Wait for enough time to pass before scraping off paint again
Once you have removed the paint from your siding, wait for it to dry completely. This will ensure that any leftover chemicals are not reabsorbed into the surface and cause damage or discoloration!
You may need to repeat this process several times to remove all paint from each section of your home. Be careful when scraping near the edges of your siding, as these areas are often thin and easily damaged!
To remove stubborn paint from a small section, you may need to wait for enough time before moving on. This will ensure that any remaining chemicals do not cause damage or discoloration once they have been removed.
Once finished with this process, you can move on to removing the paint from your trim!

Rinse away the residue with water and dry thoroughly
Finally, rinse the siding with water and dry it thoroughly before beginning to repaint. Allow it to completely dry before starting a new coat. If you notice any damage or discoloration, take the time necessary to repair those areas now instead of when your paint is already applied!
Sand down surface if necessary, then apply primer and finish coat of paint per your siding’s manufacturer’s specifications
If any areas need to be repaired or sanded down, you can do so before applying the primer and finish coat of paint. This will prevent those damaged areas from having a different texture than surrounding areas!
Be sure to read your siding manufacturer’s specifications to find out exactly how much moisture your surface should have once you have applied the primer and finish coat.
